Before-and-after photographs and descriptions of completed waterproofing, injection, concrete restoration and roof repairs. These are examples from individual projects; the scope for a new property is determined separately.
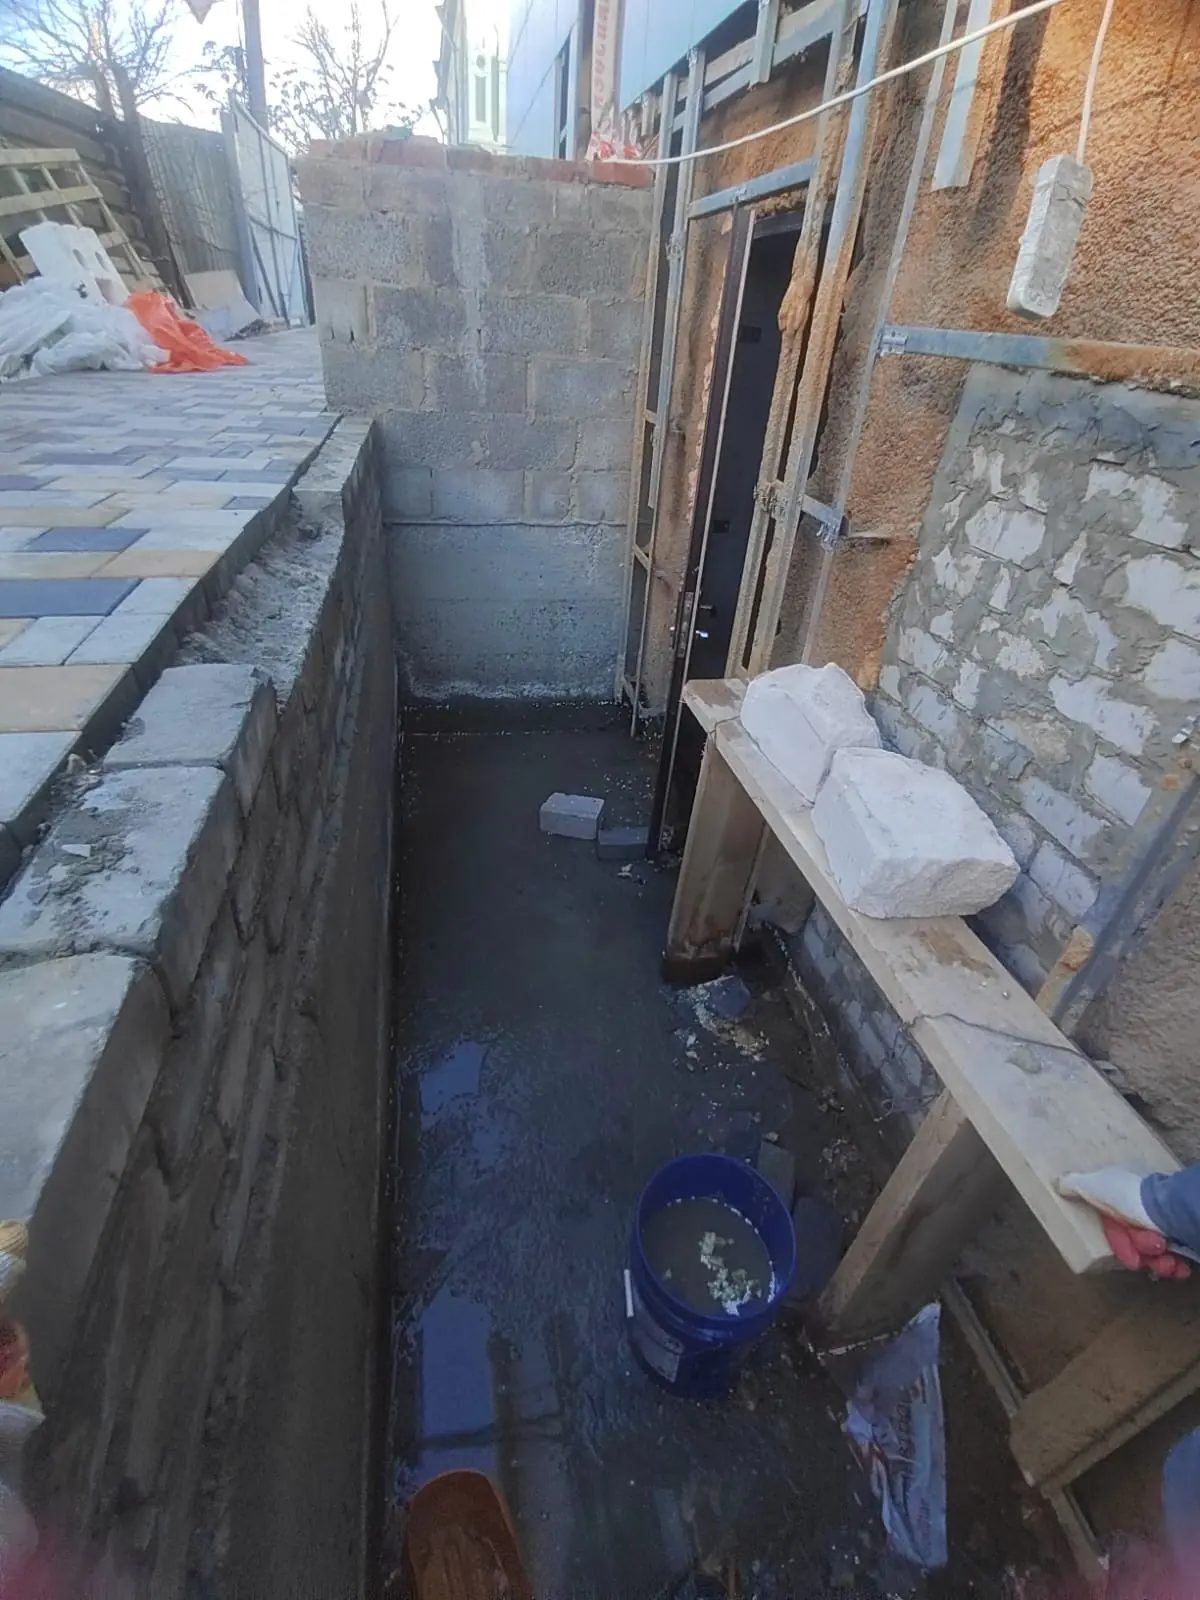
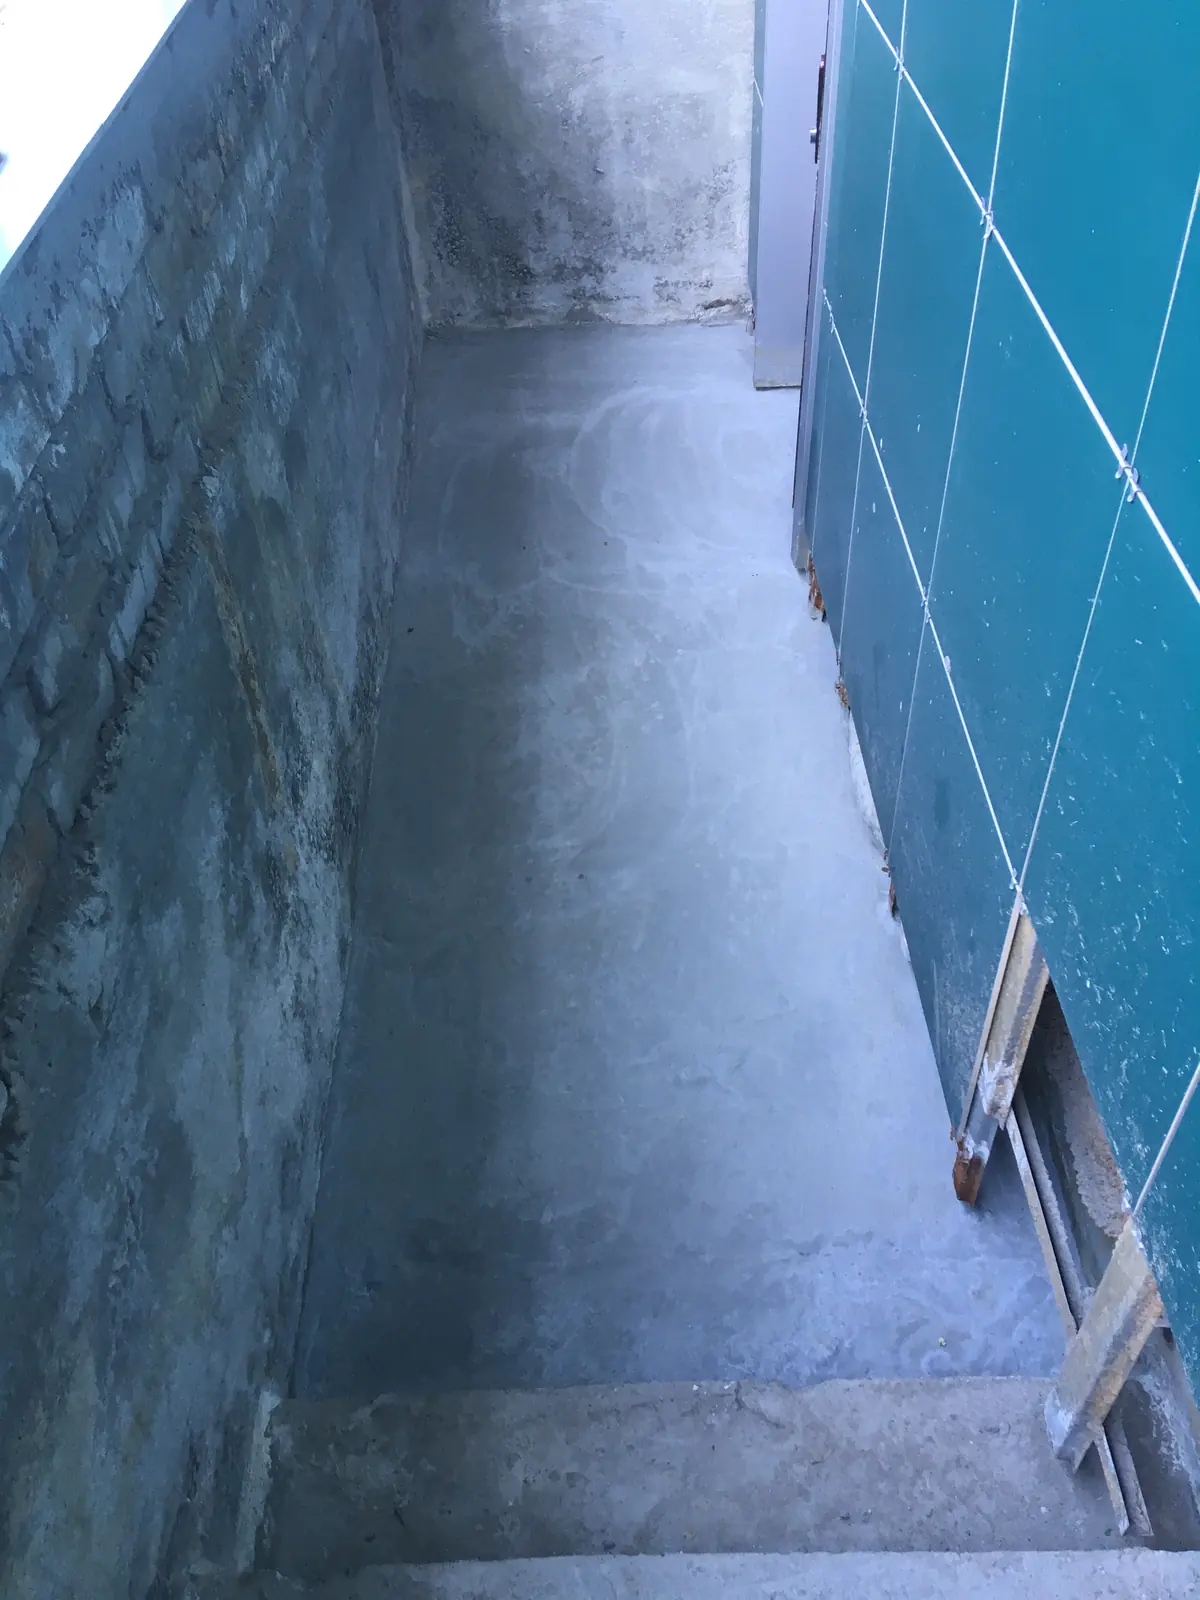
Repair of an Entrance Stairway to a Basement Level
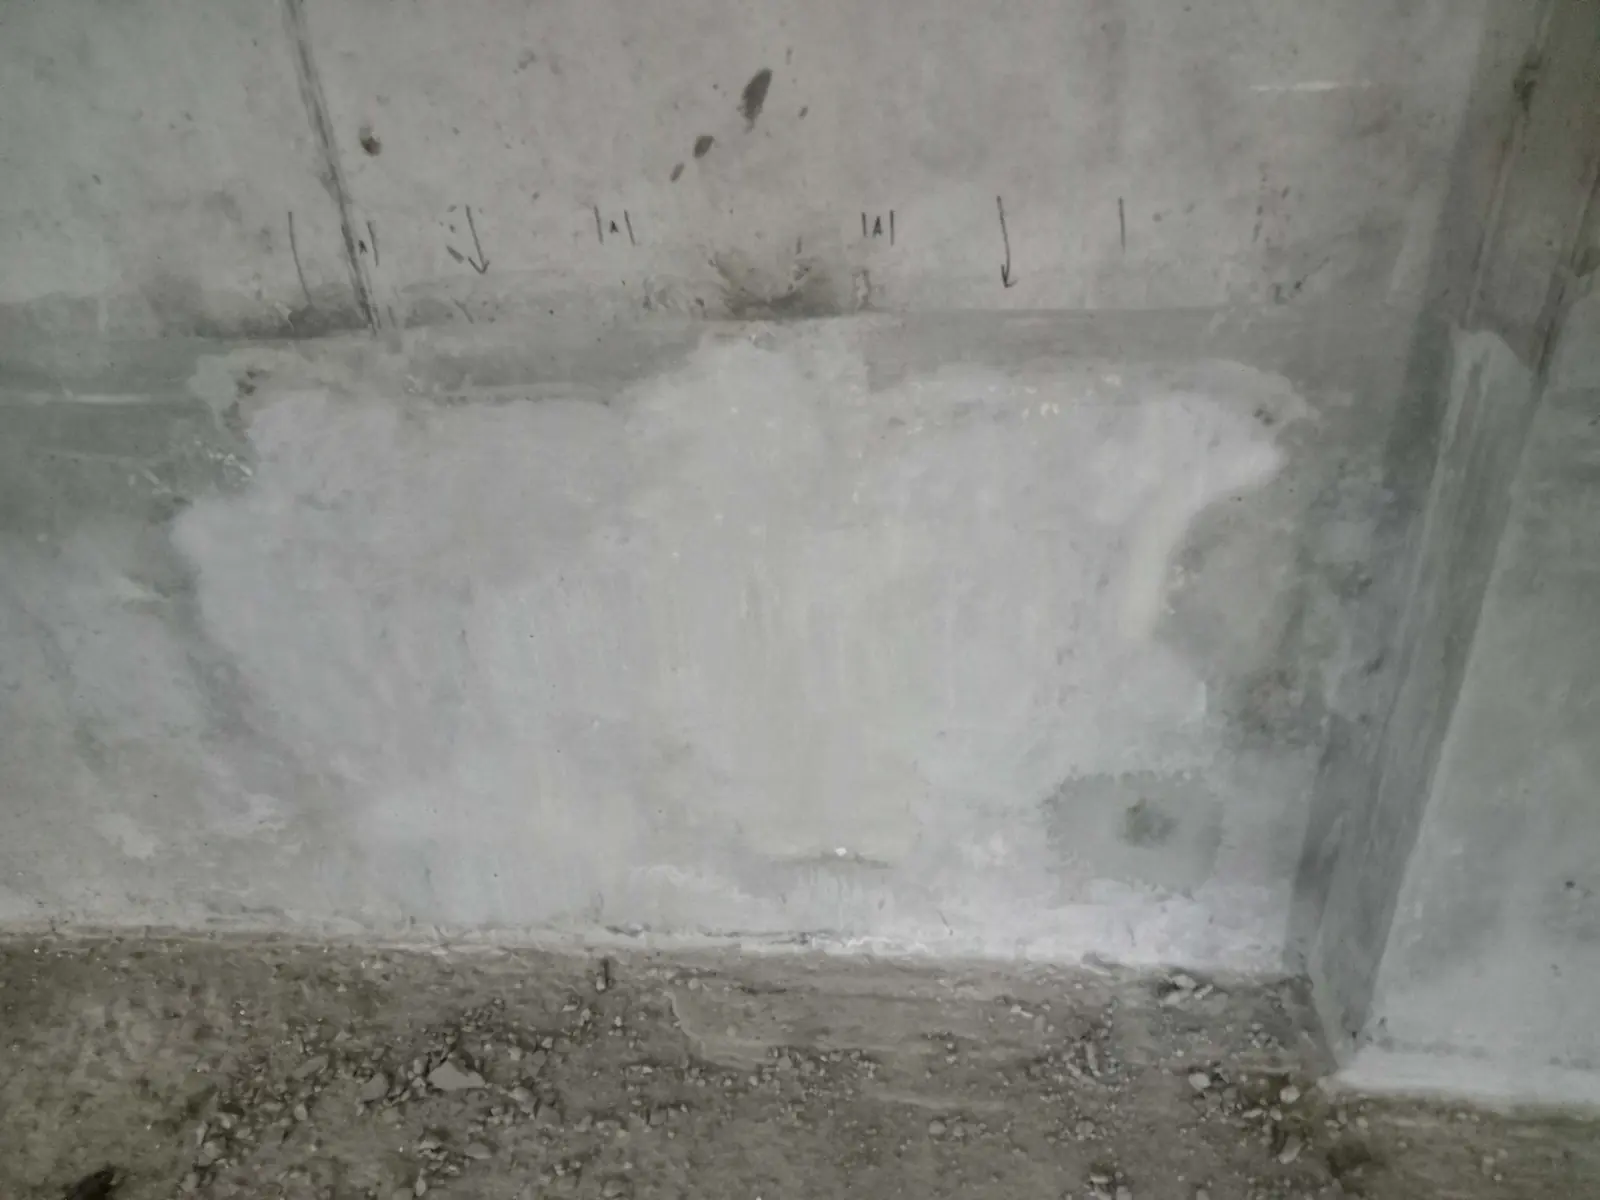
Repairs to the basement entrance covered the walls, floor and stair junction. The work included surface preparation, filling cracks and construction joints with thixotropic repair mortar, followed by grinding and penetrating waterproofing treatment. The photographs show the same area before and after the work.
BEFOREAFTER
WORK COMPLETED
Cleaning and preparation of wall and floor surfaces
Opening up and filling cold joints at floor/wall and wall/stair interfaces and cracks in the wall with a thixotropic repair compound
Grinding and treating floor and wall surfaces with a penetrating waterproofing compound
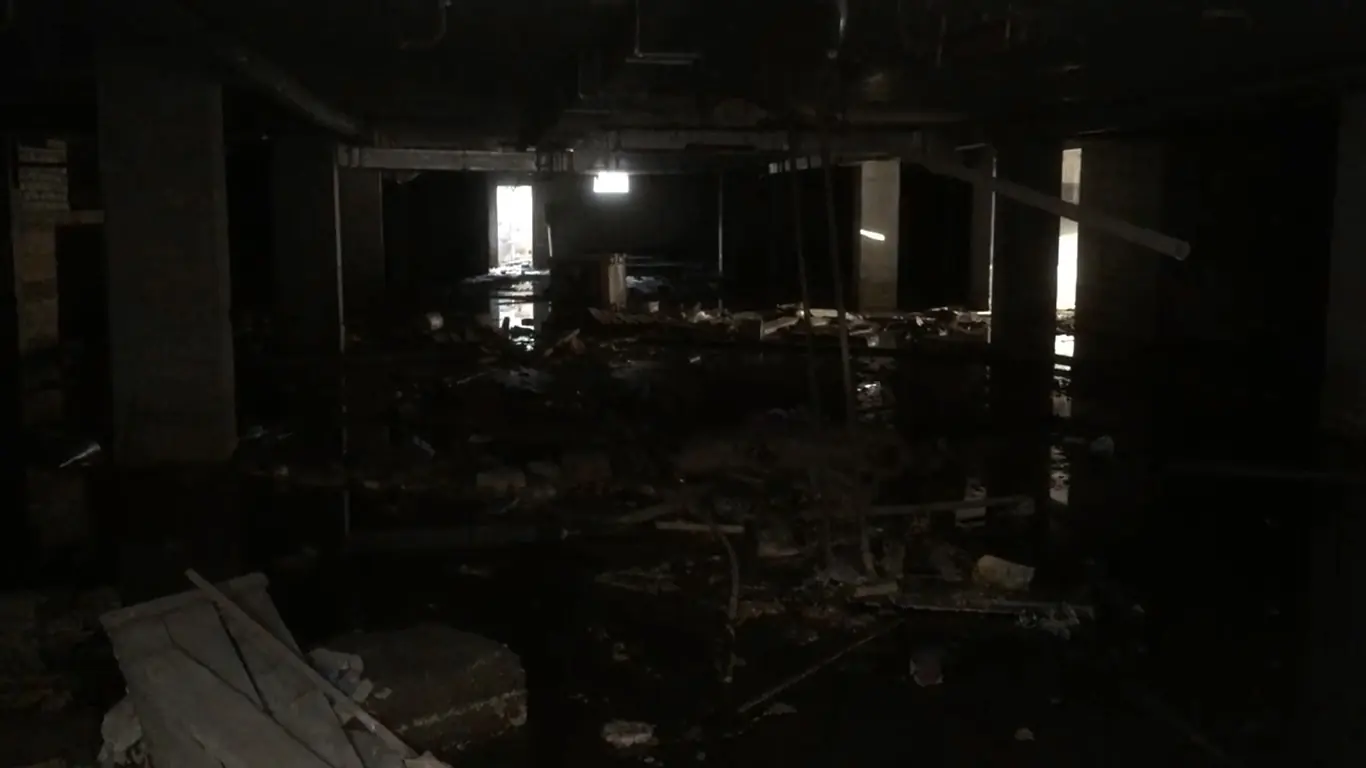
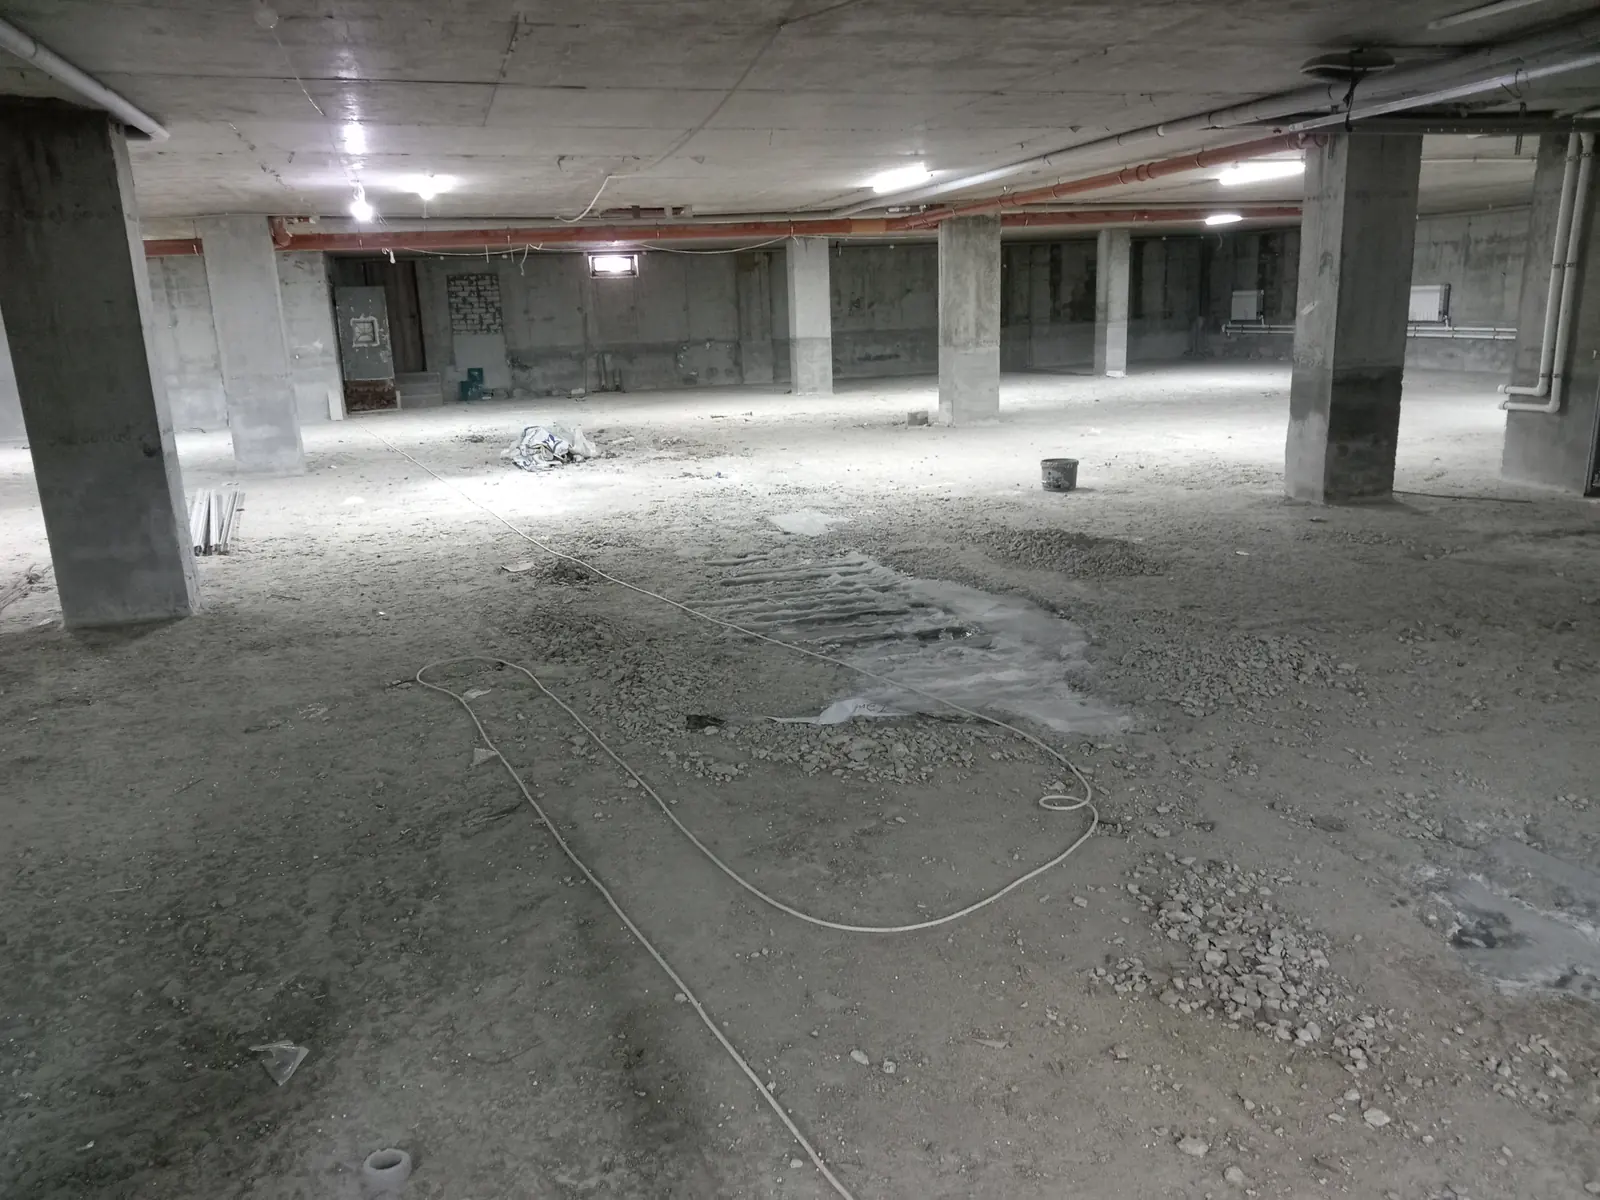
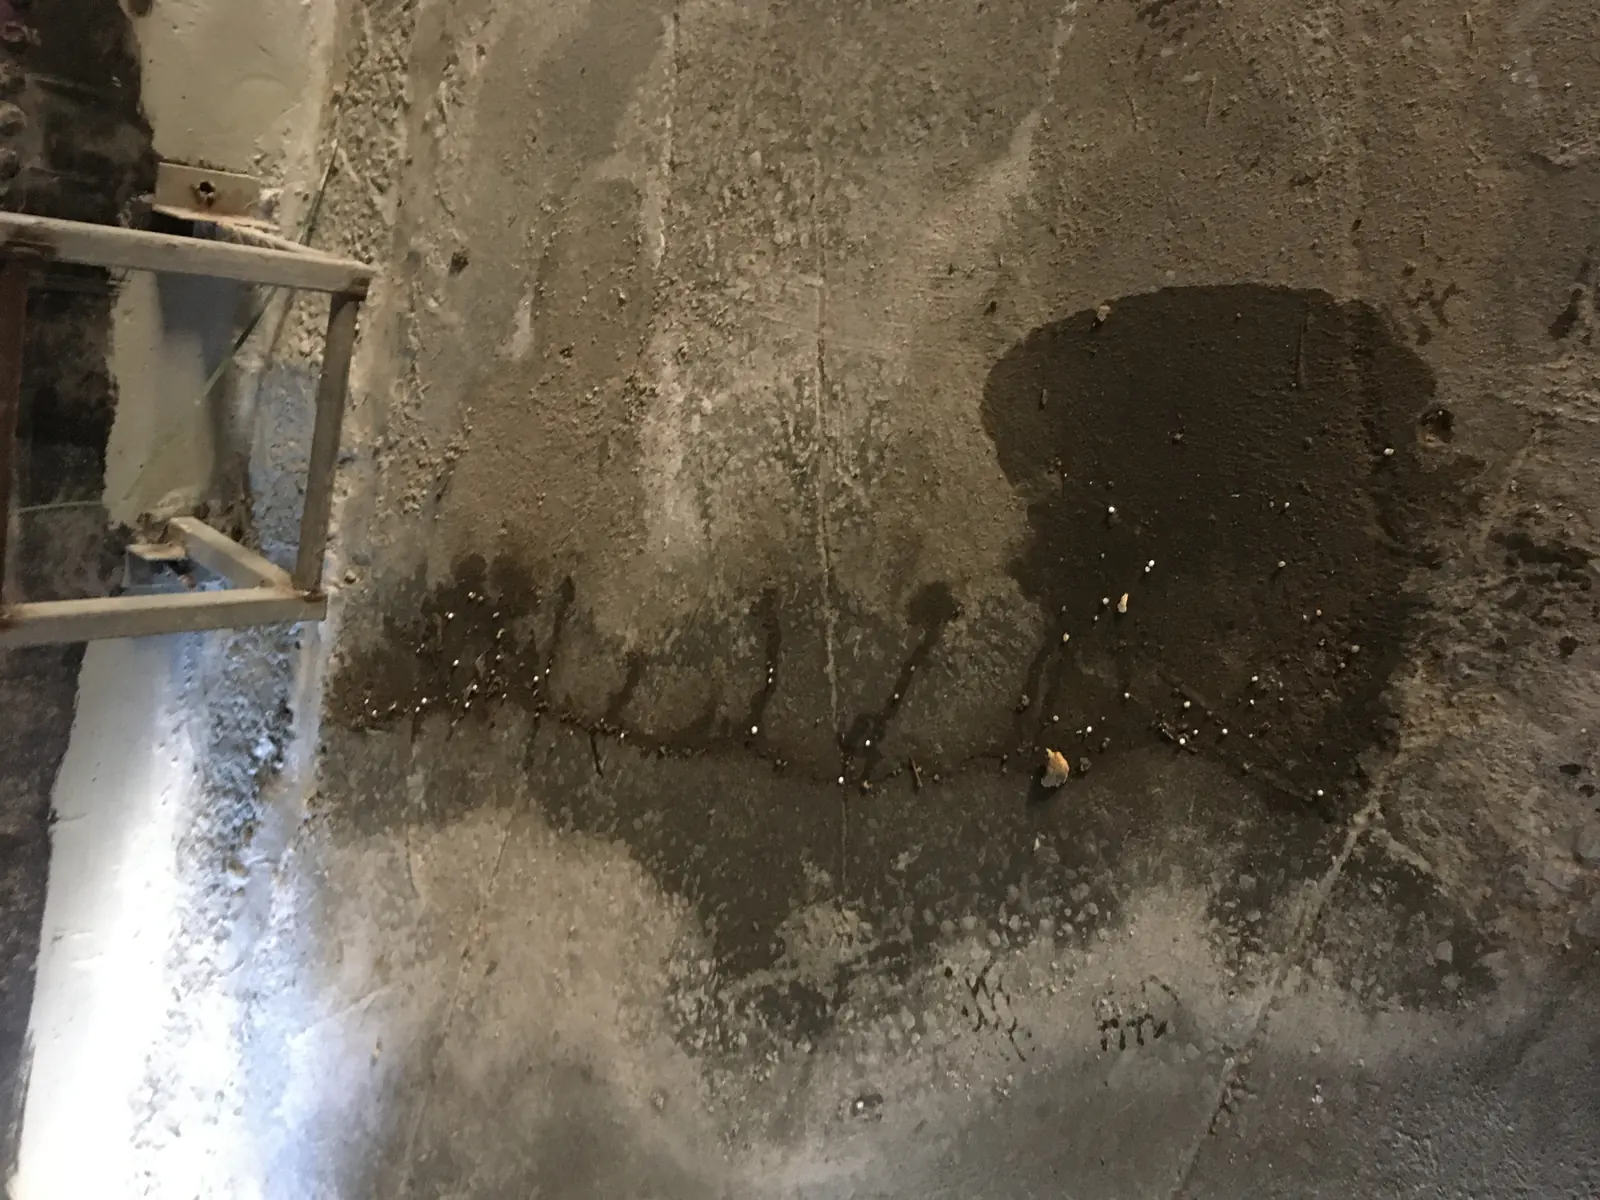
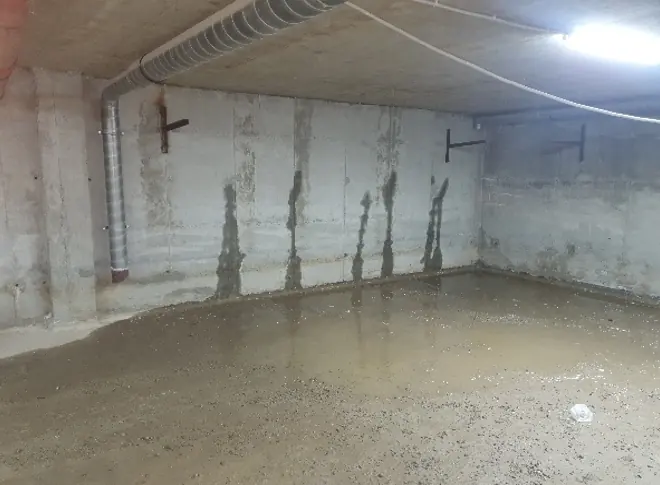
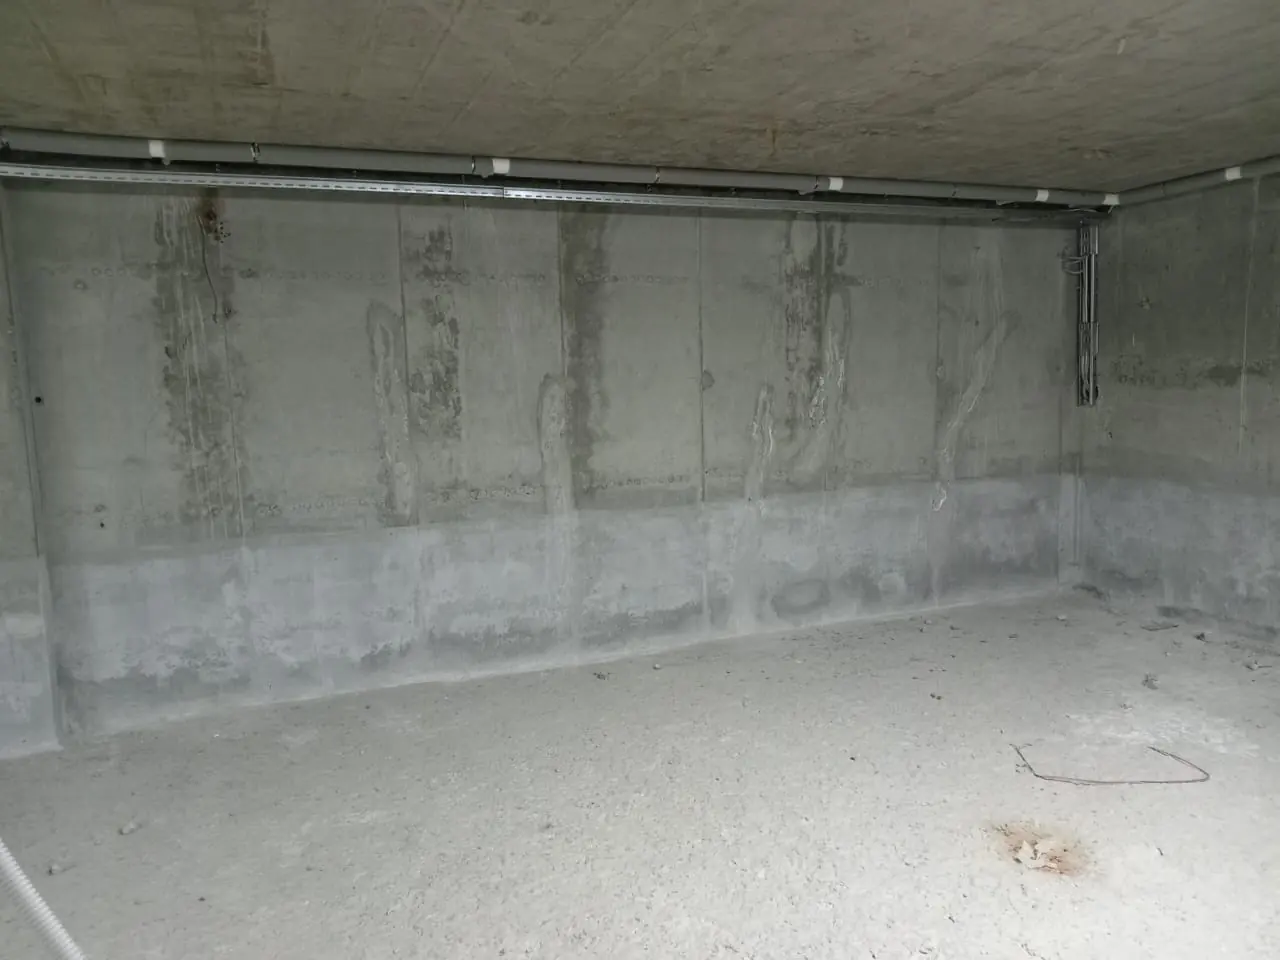
The underground parking work covered the walls and floor, including structural junctions and wall cracks. Cleaning and preparation were followed by thixotropic repair mortar and penetrating waterproofing treatment. Injection grouting of construction joints was a separate operation documented for this project.
BEFOREAFTER
WORK COMPLETED
Cleaning and preparation of wall and floor surfaces
Opening up and filling cold joints at floor/wall interfaces and cracks in walls with a thixotropic repair compound
Grinding and treating floor and wall surfaces with a penetrating waterproofing compound
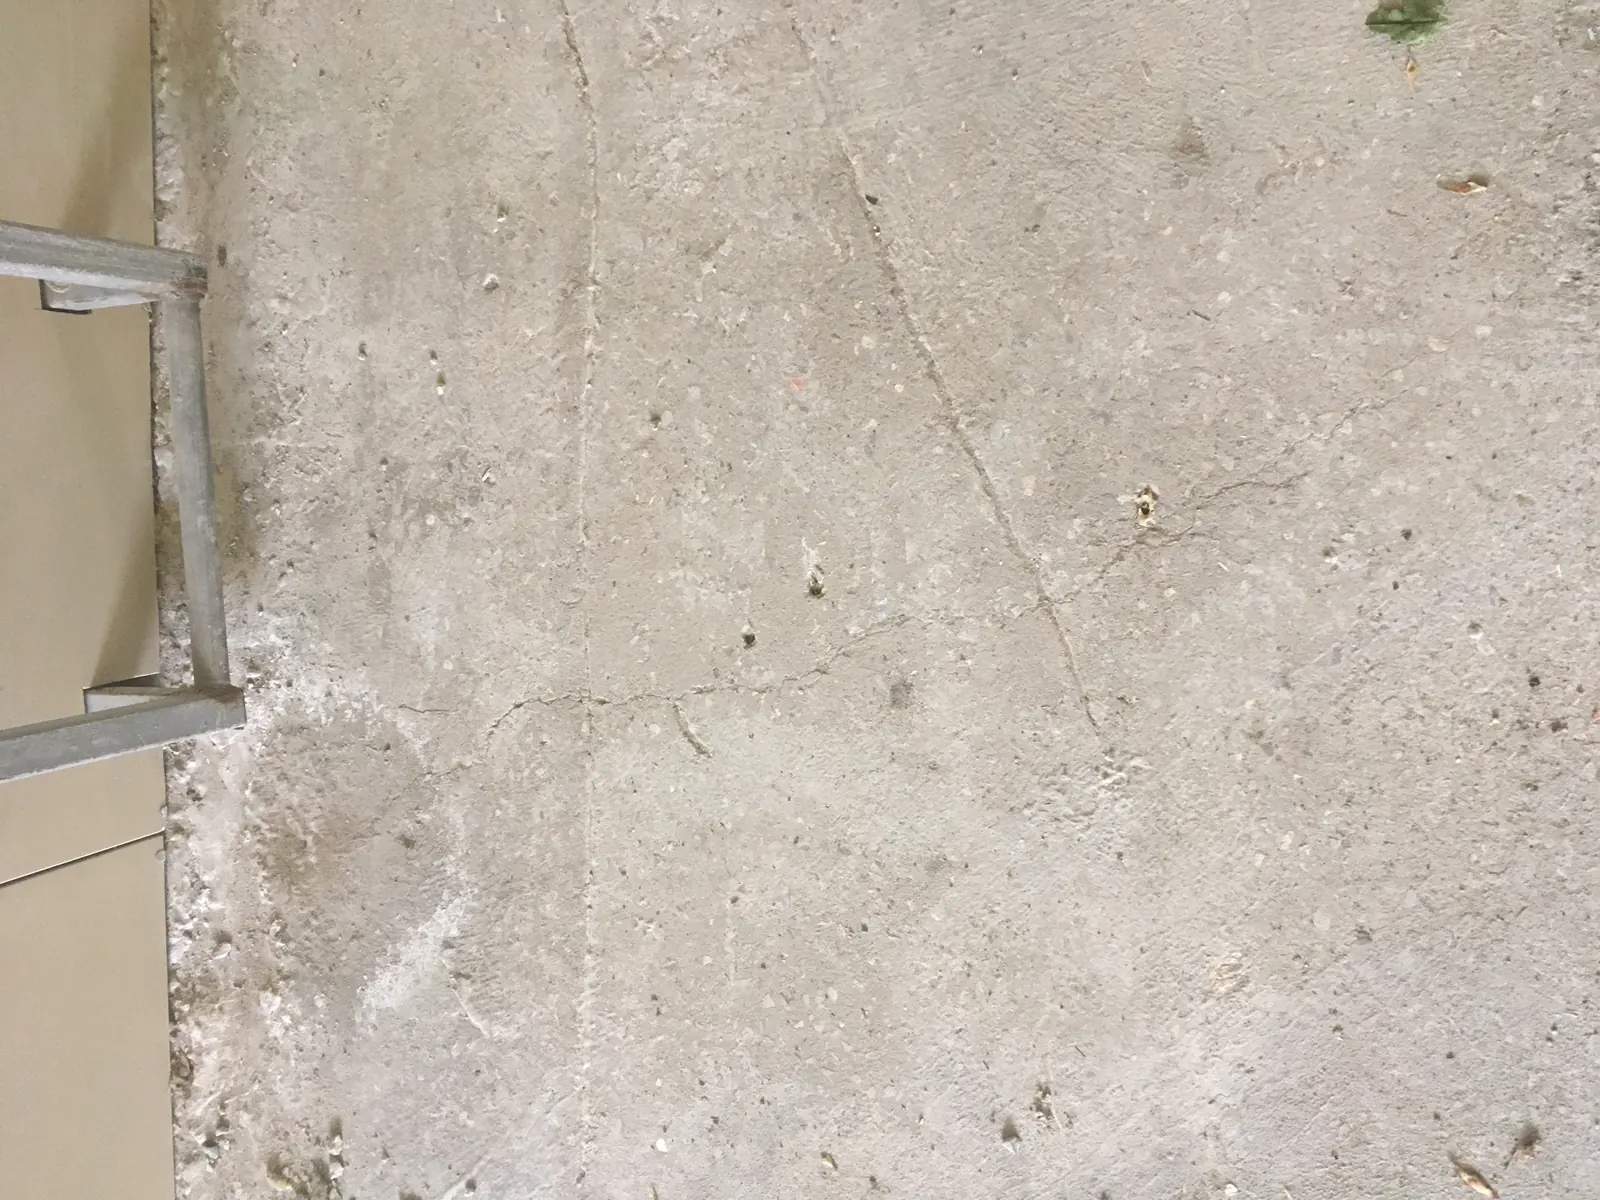
An example of local crack repair in a reinforced-concrete floor using injection grouting. The paired photographs show the same area before and after repair, allowing a comparison of the crack location and the surface condition after the work.
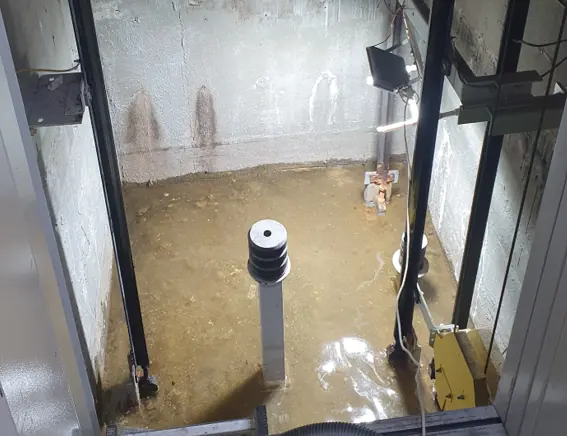
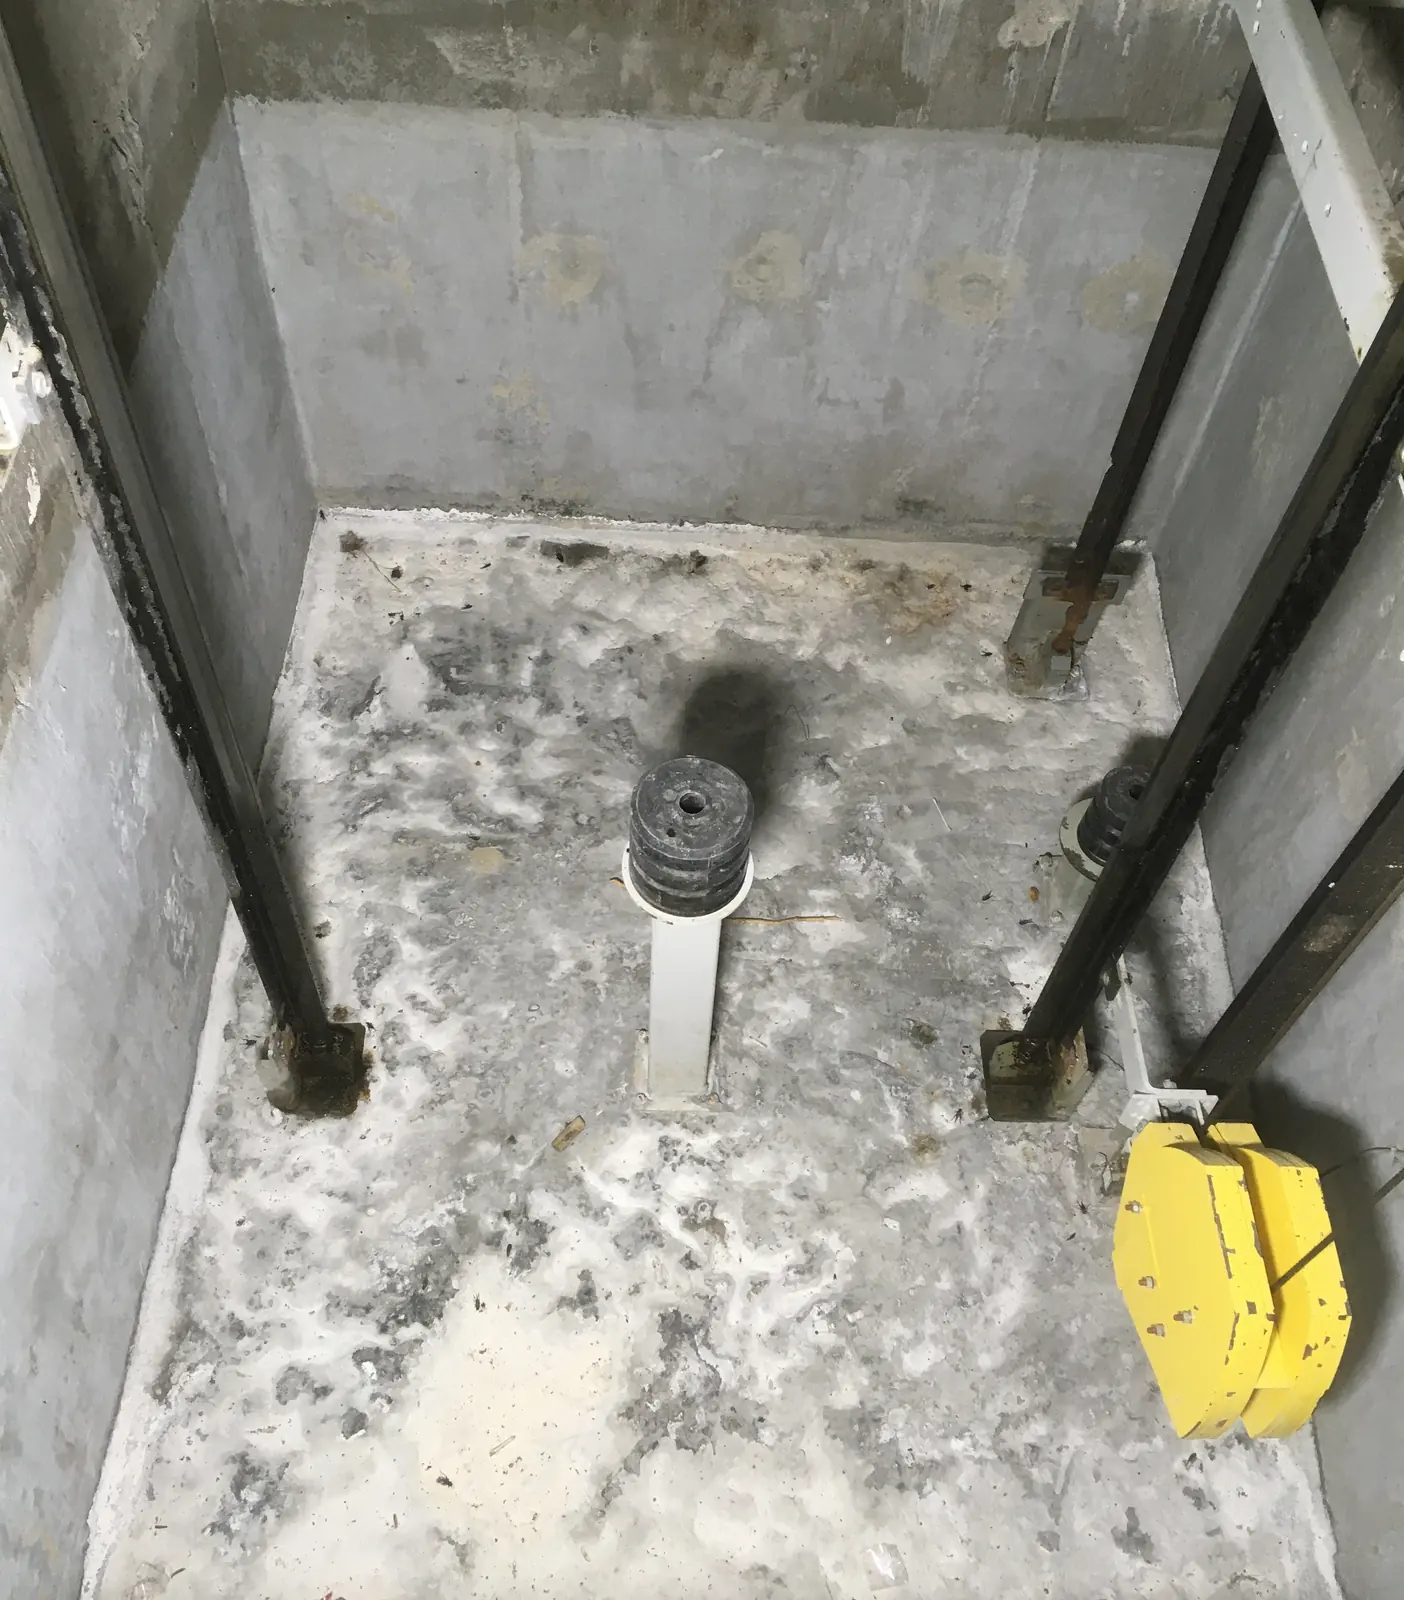
The lift-shaft project covered wall and floor surfaces, construction joints and wall cracks. Work included cleaning, opening and filling defects with thixotropic repair mortar, grinding and penetrating waterproofing. This is a repair of the shaft structure; lift equipment maintenance is outside the documented scope.
BEFOREAFTER
WORK COMPLETED
Cleaning and preparation of wall and floor surfaces
Opening up and filling cold joints at floor/wall interfaces and cracks in walls with a thixotropic repair compound
Grinding and treating floor and wall surfaces with a penetrating waterproofing compound
The wall-section repair included removal of delaminated concrete, cleaning and restoration of reinforcement, and concrete restoration with repair mortar. Construction joints and floor cracks were also treated, and penetrating waterproofing was applied to the wall surface. The completed operations are listed below.
BEFOREAFTER
WORK COMPLETED
Cleaning and preparation of wall surfaces
Opening up and filling cold joints at floor/wall interfaces with a thixotropic repair compound
Removal of delaminated concrete from the wall section
Cleaning and restoring the existing reinforcing steel
Restoring the removed concrete using a thixotropic repair compound
Treating the wall section with a penetrating waterproofing compound
Opening up and filling cold joints at floor/wall interfaces and cracks in the floor with a thixotropic repair compound
The reinforced-concrete wall repair combined two sets of operations: preparing and filling chases with thixotropic repair mortar, followed by crack injection. The paired photographs allow a comparison of the wall section before and after this work.
BEFOREAFTER
WORK COMPLETED
Opening up grooves, cleaning and filling them with a thixotropic repair compound
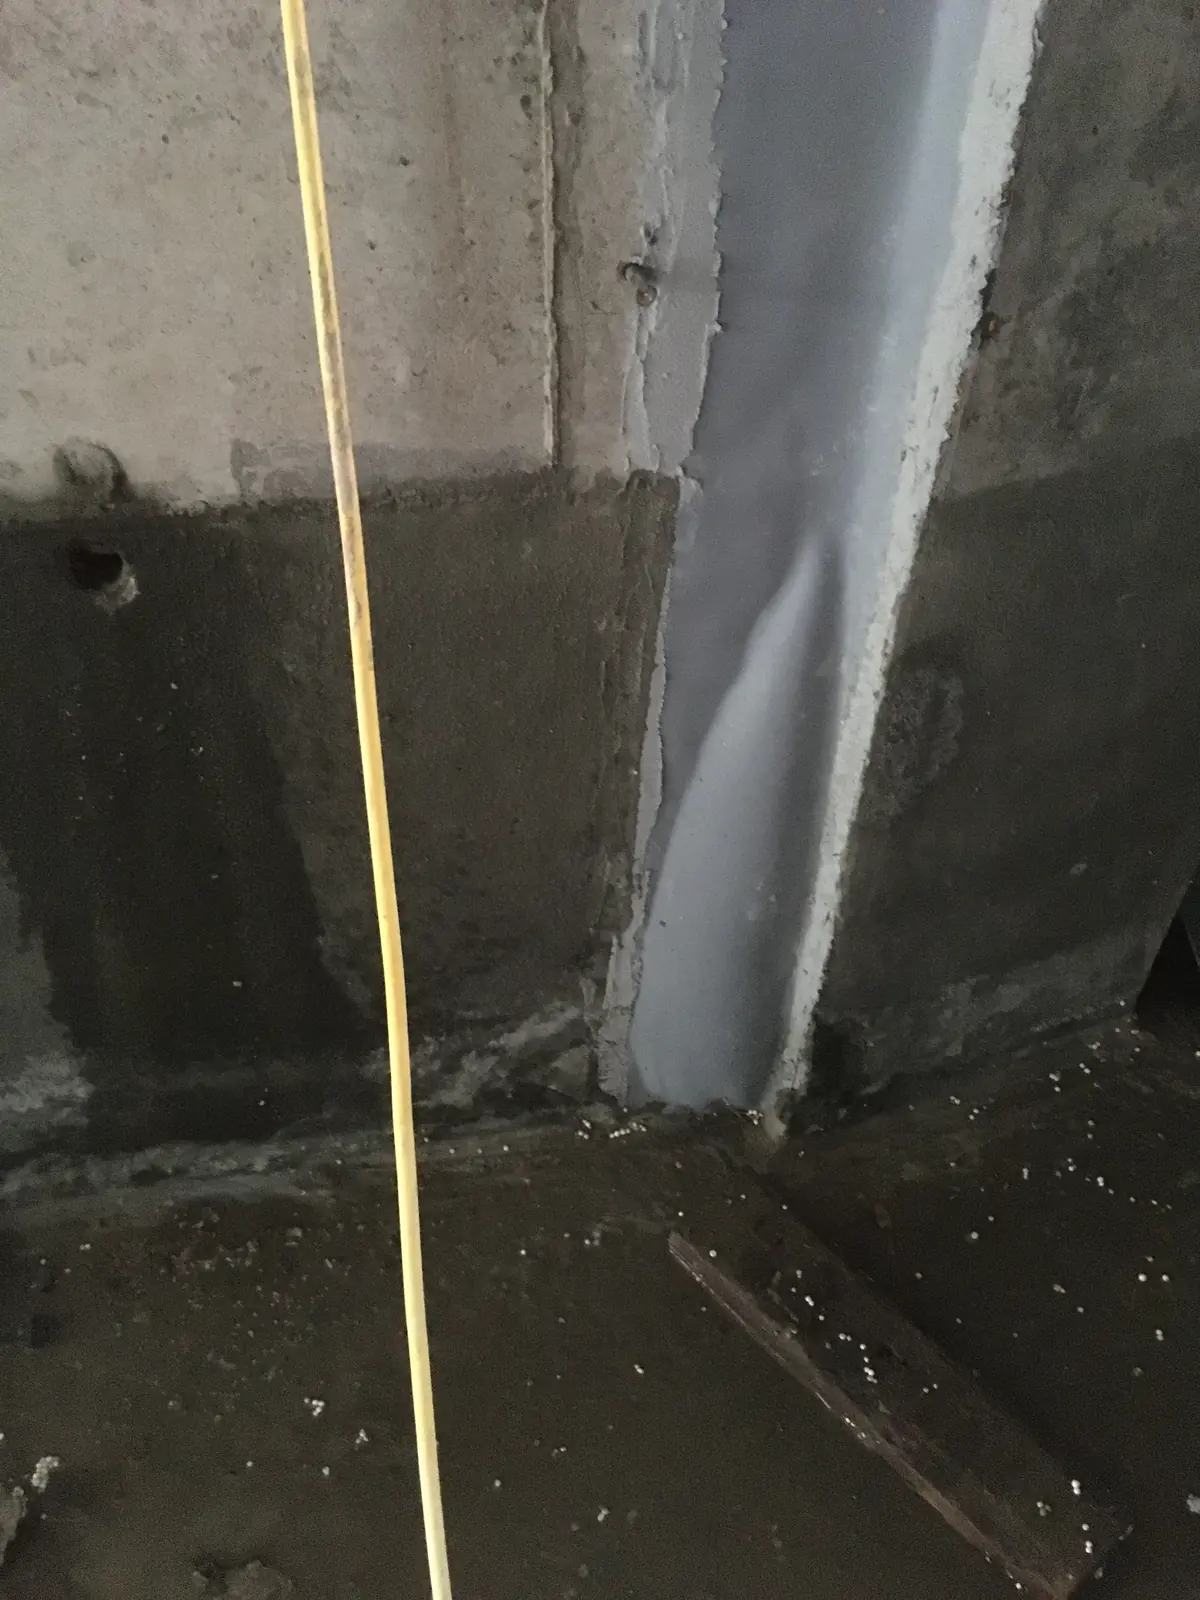
This project concerns an expansion joint between wall structures. The documented work includes surface cleaning, opening and filling the joint with thixotropic repair mortar, and bonding an elastic waterproofing tape. The photographs show the same section of joint before and after repair.
BEFOREAFTER
WORK COMPLETED
Cleaning and preparation of wall surfaces
Opening up and filling the expansion joint between wall sections with a thixotropic repair compound
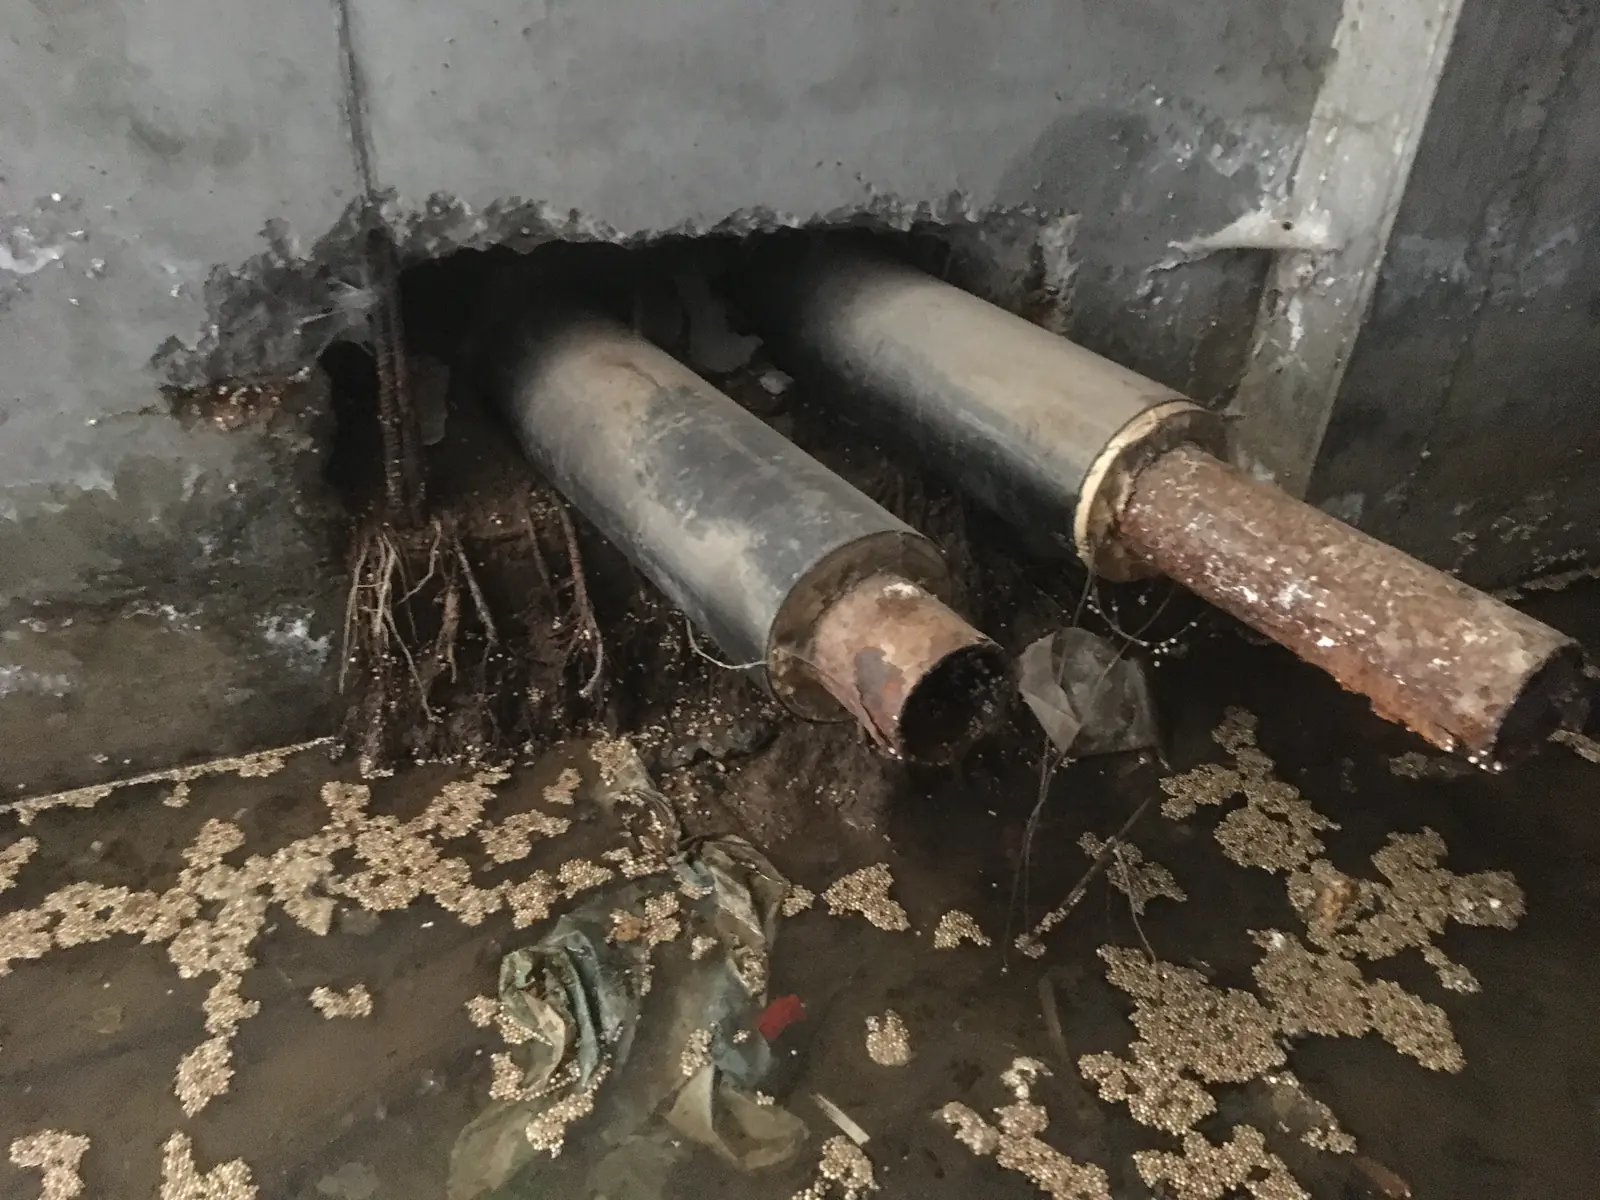
The wall-penetration repair included cutting pipes and clearing debris from the wall cavity. Formwork was then installed and the penetration was concreted. The final recorded operations were treating construction joints with repair mortar, grinding and applying penetrating waterproofing to the wall surface.
BEFOREAFTER
WORK COMPLETED
Cutting back pipes
Removing debris from the wall cavity
Installing formwork and concreting the utility penetration
Opening up and filling cold joints between wall sections with a thixotropic repair compound
Grinding and treating the wall surface with a penetrating waterproofing compound
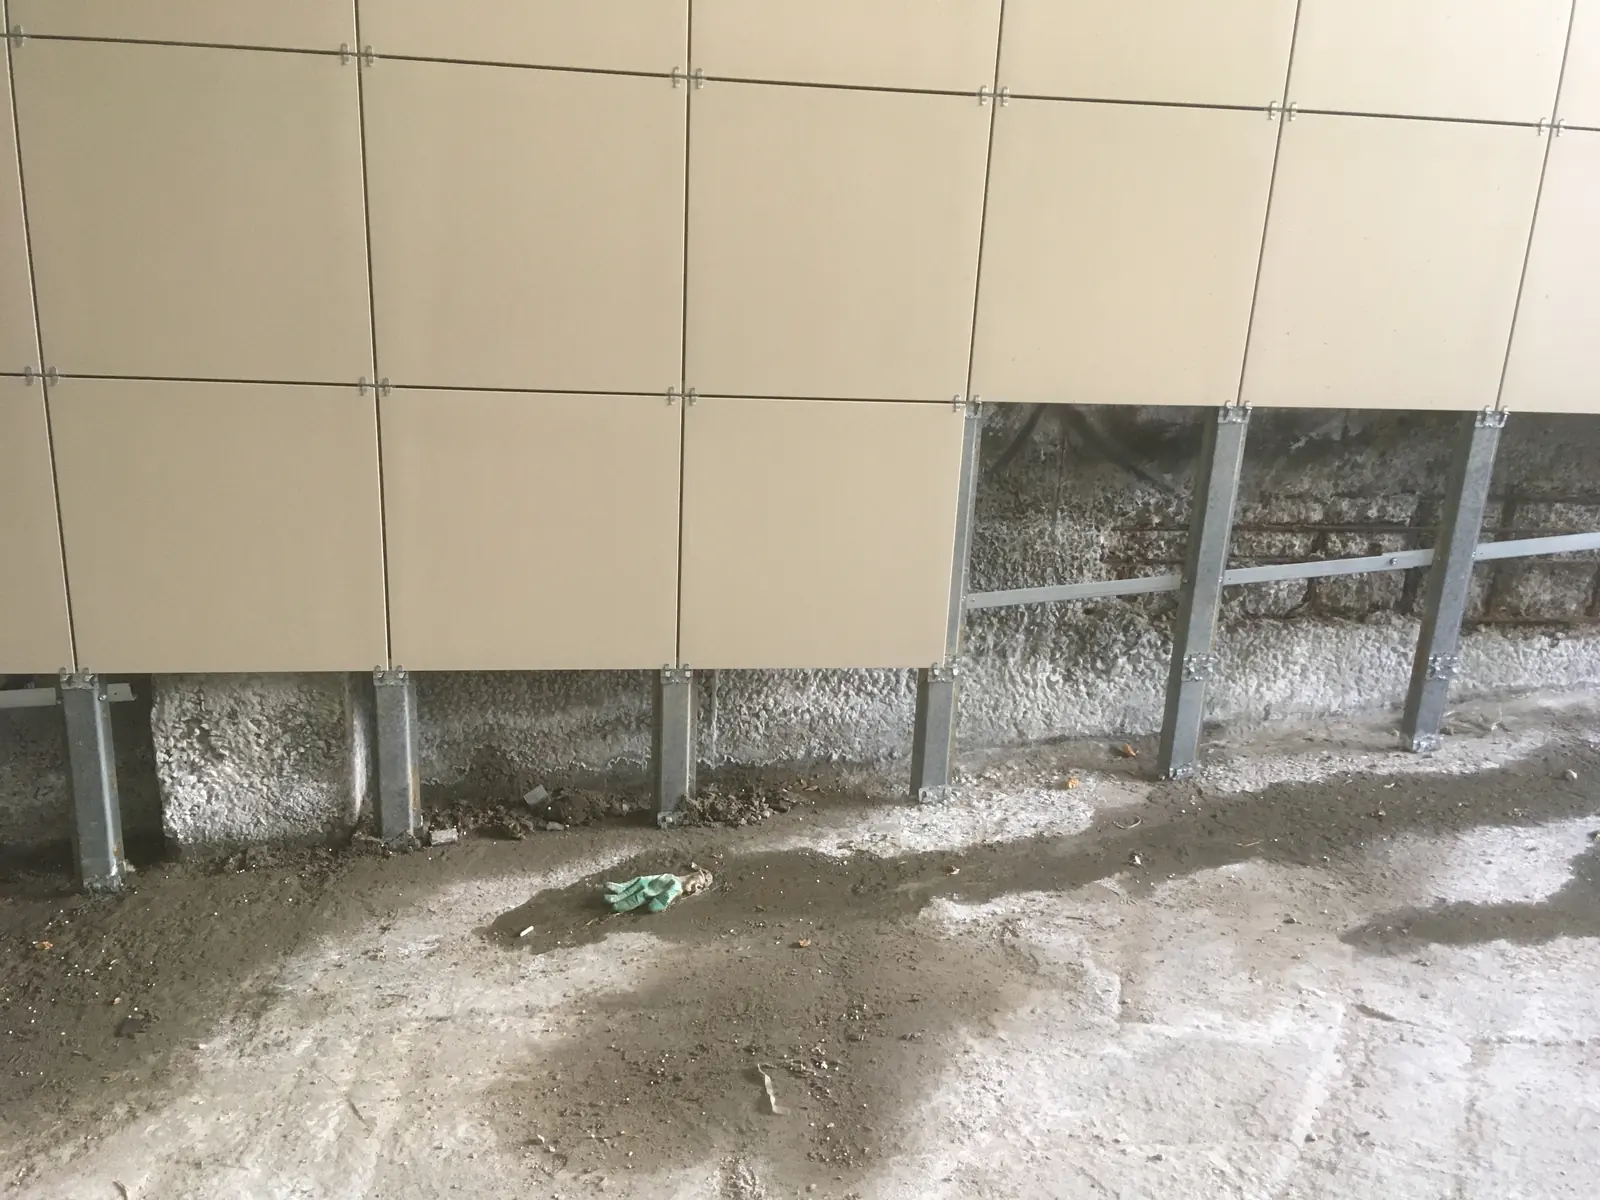
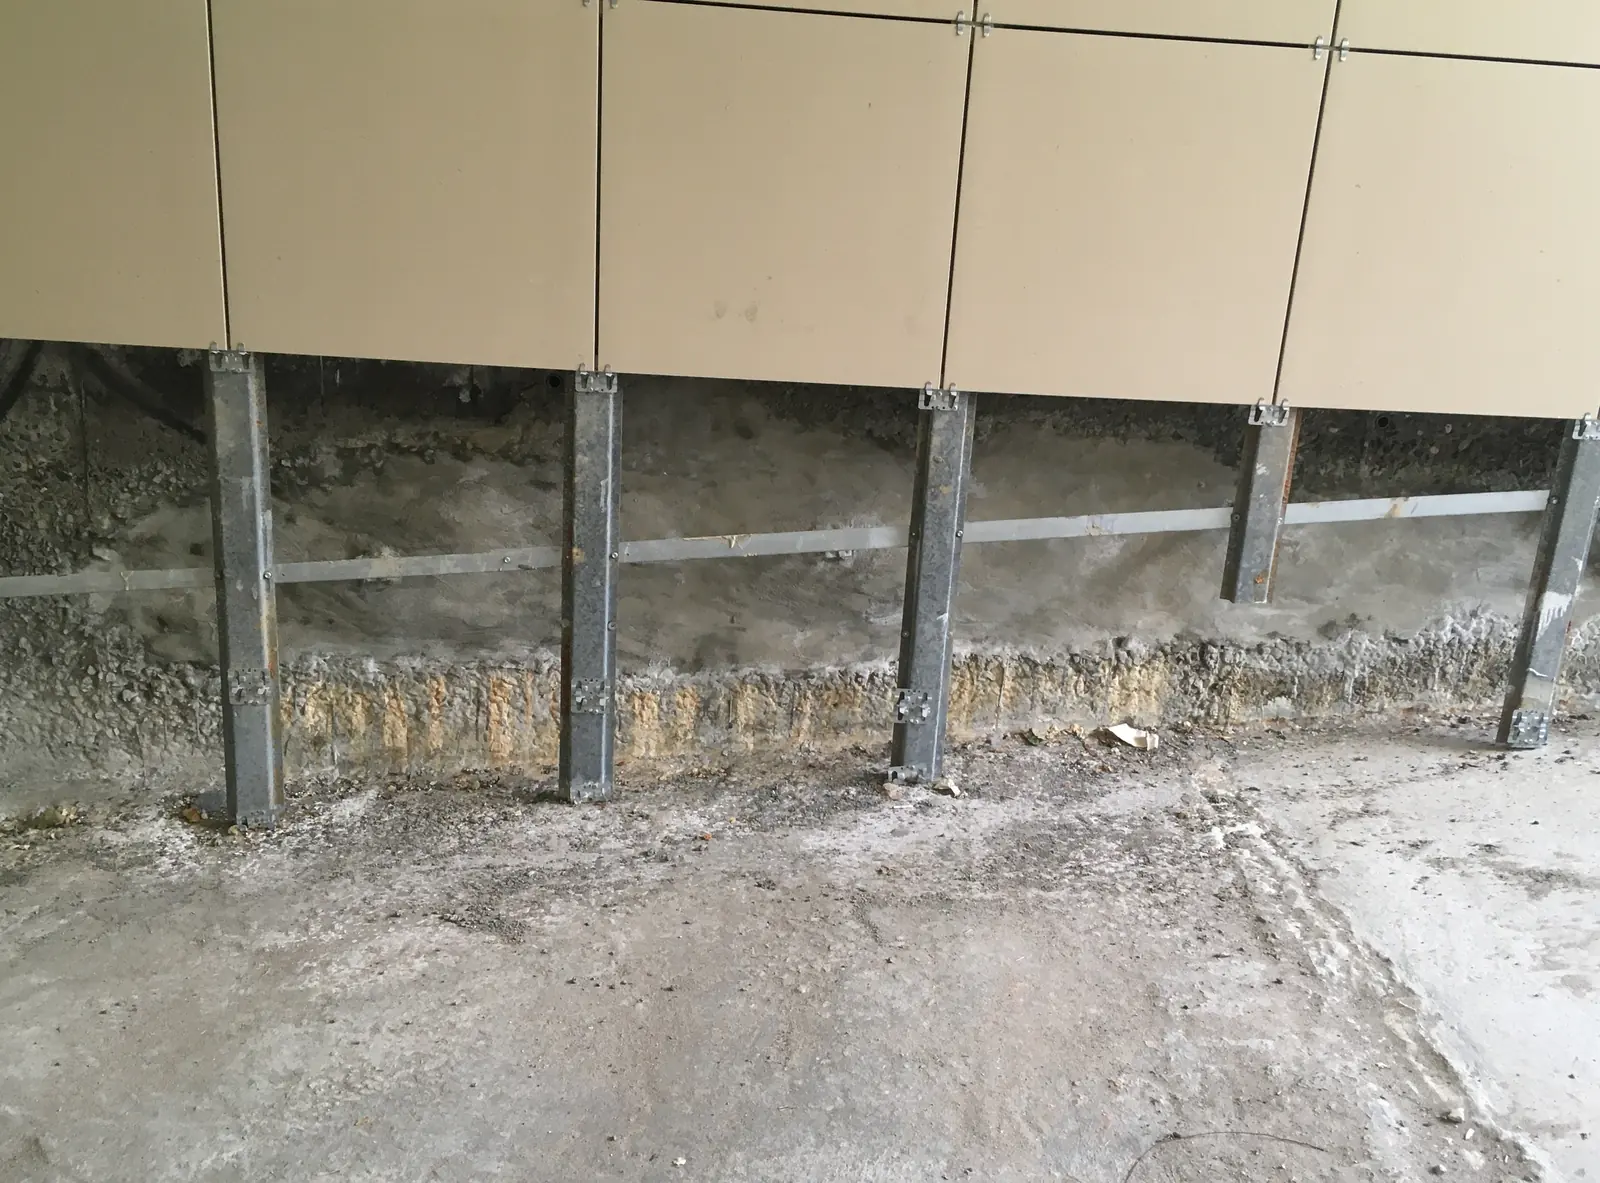
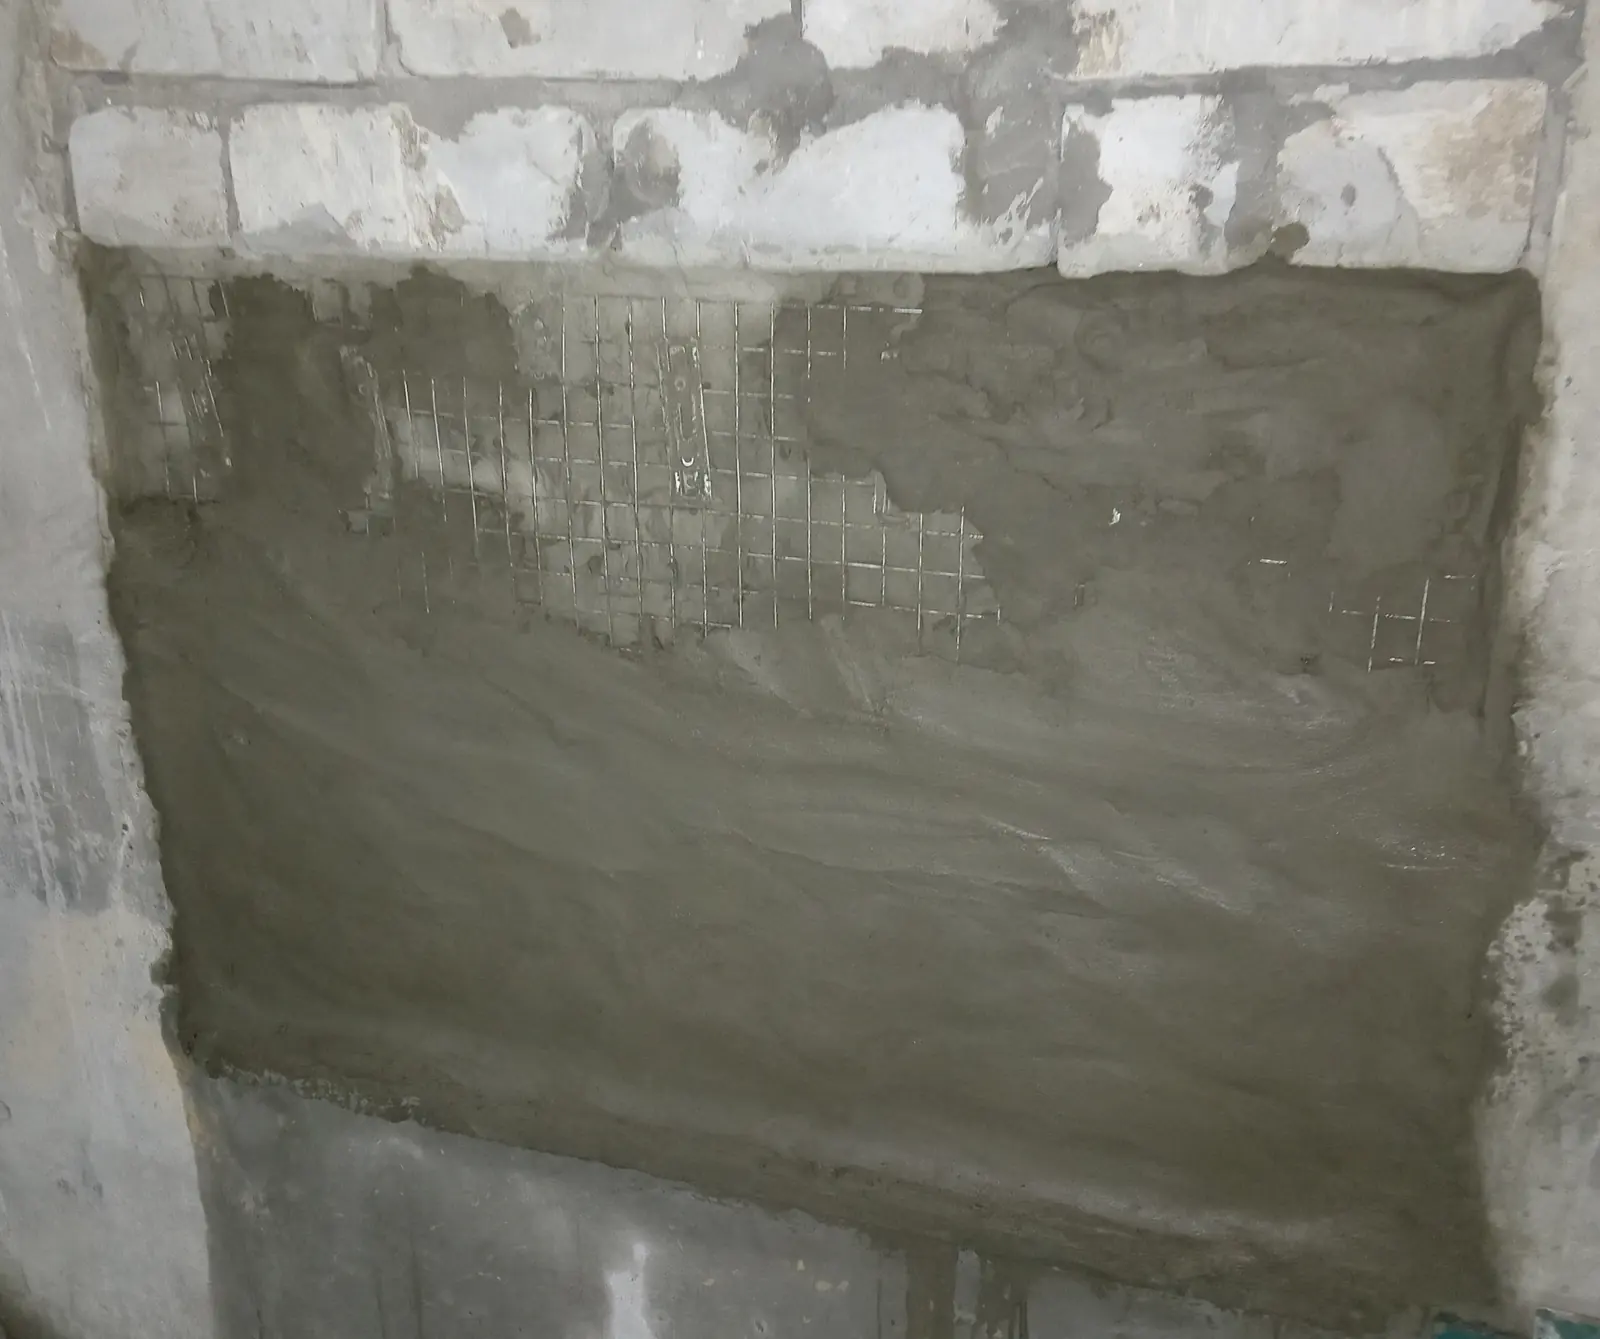
The brick-wall repair included partial removal of brickwork, cleaning and installation of galvanized mesh. The removed section was restored with thixotropic repair mortar and treated with penetrating waterproofing. This example shows a local repair rather than rebuilding the entire wall.
BEFOREAFTER
WORK COMPLETED
Cleaning and preparation of the wall surface
Partial removal of brickwork
Cleaning and installing galvanized mesh
Rebuilding the removed brickwork with a thixotropic repair compound
Treating the wall section with a penetrating waterproofing compound
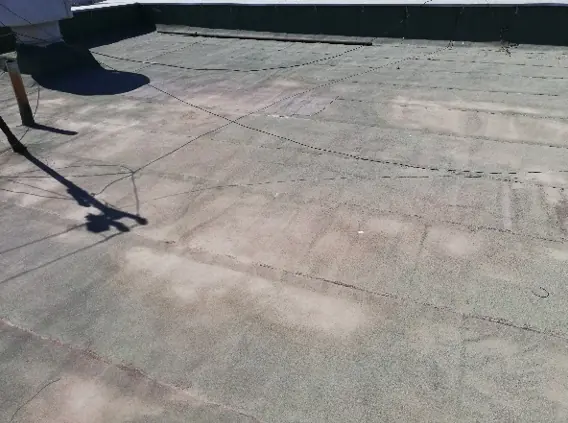
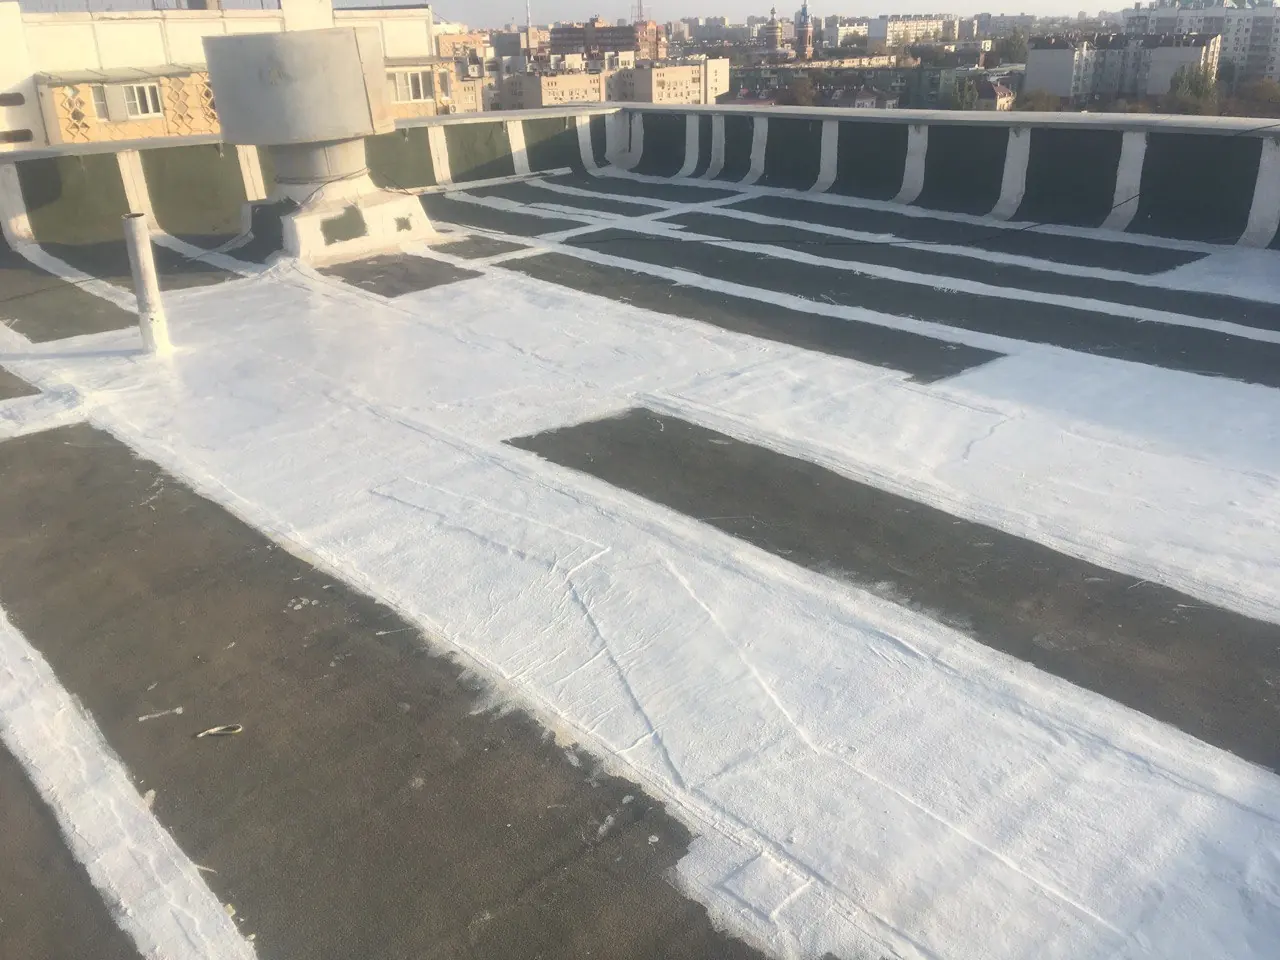
This example documents a local repair to a section of soft roofing. Cleaning and surface preparation were followed by a specialized reinforced repair compound based on synthetic rubber. The photographs show the repaired area; replacement of the entire roof is not part of the recorded scope.
BEFOREAFTER
WORK COMPLETED
Cleaning and preparation of roof surfaces
Localized roof repair using a specialized reinforced synthetic-rubber-based repair compound
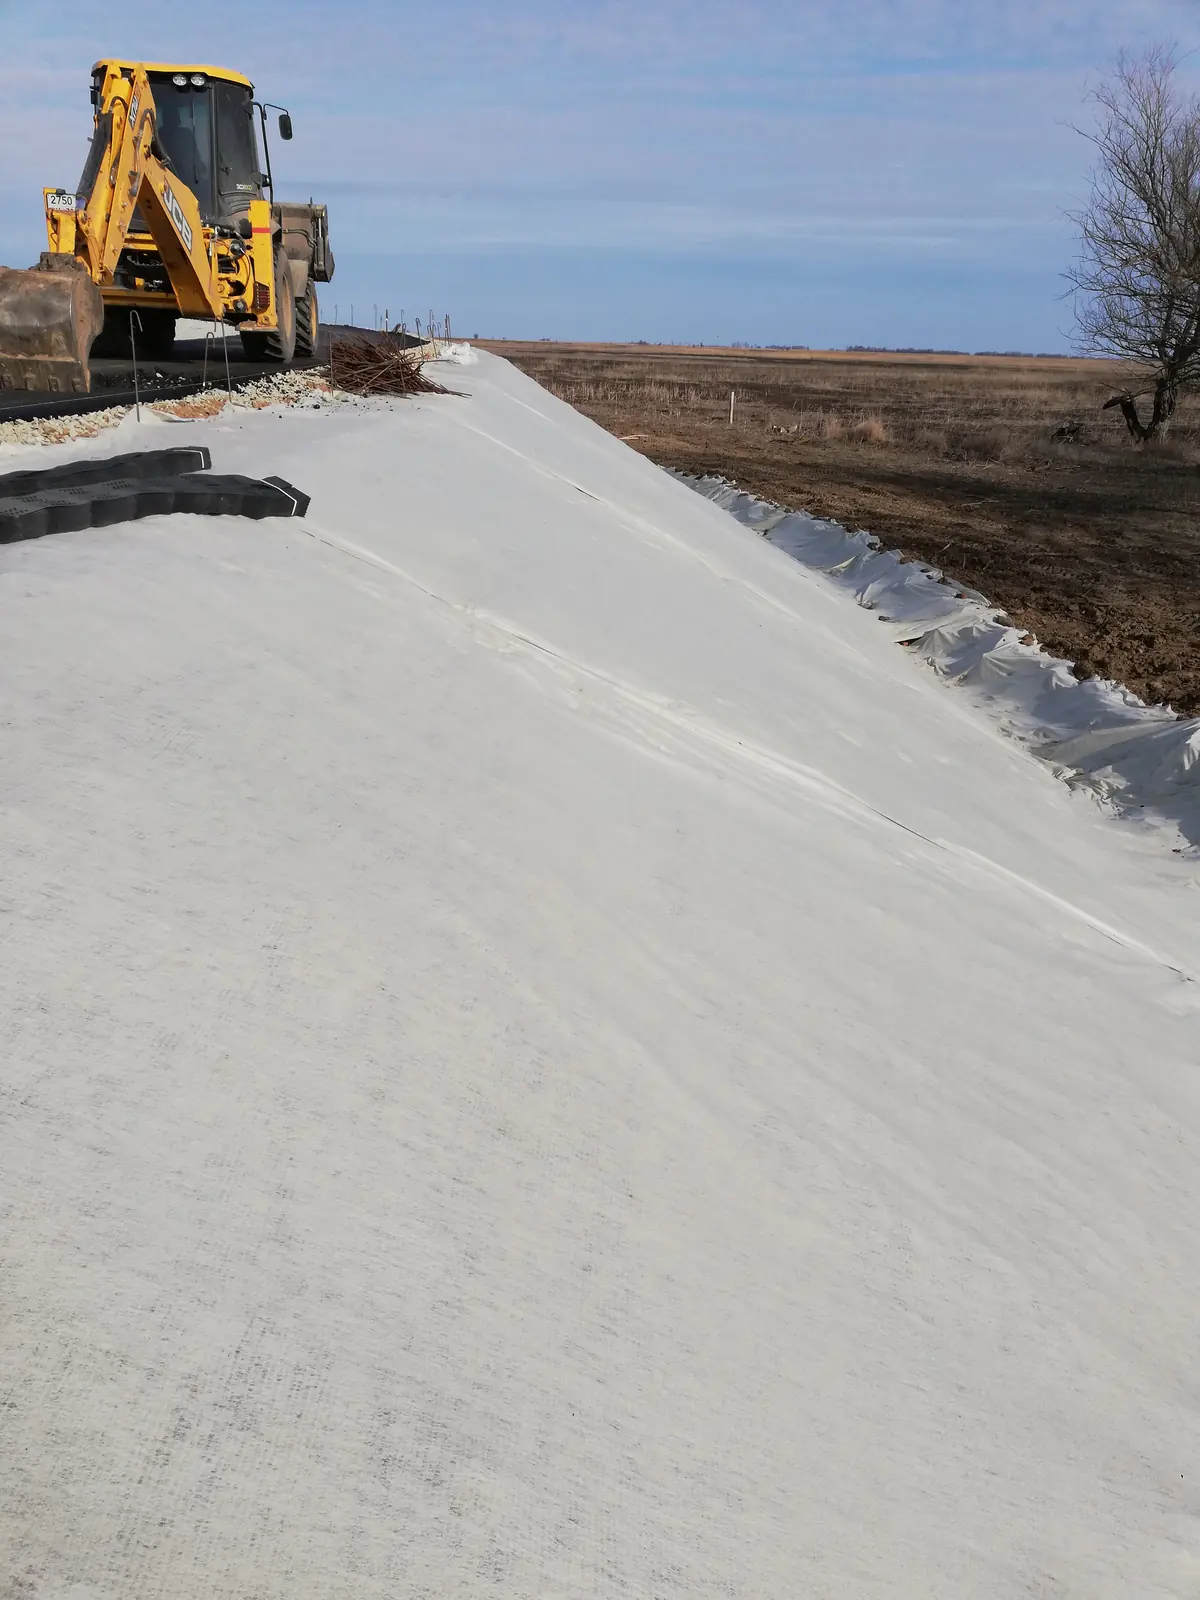
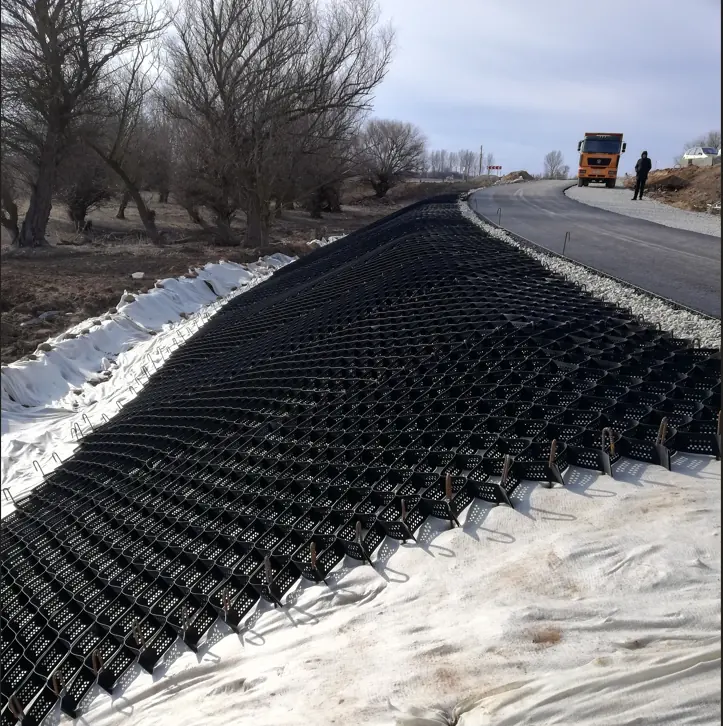
The slope works included site clearance, earthwork restoration, grading and installation of a toe support. A geotextile filter, a three-dimensional geocell system and crushed-stone infill followed. The documented scope also included shoulder filling and grading, and improvement of the adjoining area.
BEFOREAFTER
WORK COMPLETED
Clearing vegetation and debris from the site
Restoring the shoulders of the earthworks
Grading the embankment slope to its design gradient
Excavating a trench for the supporting berm
Constructing a supporting berm from rubble stone or crushed stone
Installing a geotextile reverse filter
Installing and securing a three-dimensional geogrid